

Today we're joined by another fantastic Summer Blogger: Teresa from Daisies for Violet! Teresa blogs about yarny things and thready things and has some very fun patterns and tutorials available for both! Today Teresa is going to share her method for using stitch stitch as a fill - so let's get started!
Hi everyone! I’m so excited to be a summer guest blogger for one of my absolute favorite and most useful sites. I’m going to share with you how I use a simple stem stitch as a fill.
You can use this technique for any line work that just a single line won’t fill. The stem was the first stitch I learned and used it for years before I even realized there were other stitches or that it had a name at all. It’s still my favorite and the most comfortable for me. So I had to figure out a way to fill space since, apparently, I never saw any other stitches. I tend to use stem stitch a lot recently for lettering. You will create a beautiful, smooth texture with a tight group of stitches. As you see above, it can swoop or be sharp. So many possibilities!
There are two important things to know about this technique:
1. How to hold your excess floss,
and
2. Where to insert your needle.
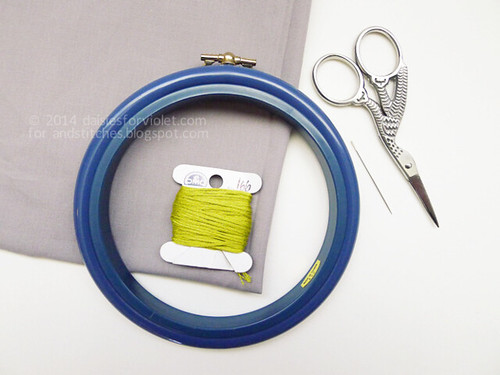
Grab your fabric, hoop, floss, needle - and if you are like me, reading glasses. 'Cause this might get a little tight.
Please note in the following photos I’m using all 6 strands of DMC floss to more easily show the specific textures. Normally I use only 2 strands in my work. Three if I’m feeling adventurous.
First of all, stitch a good old fashioned row of stem stitches.
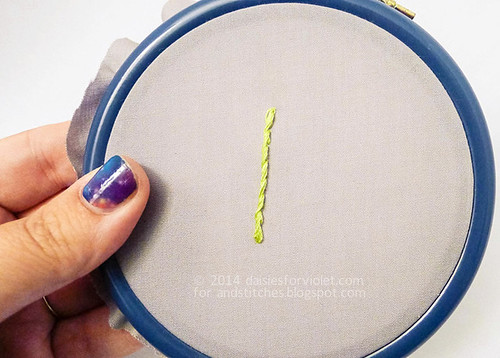
Done. Good.
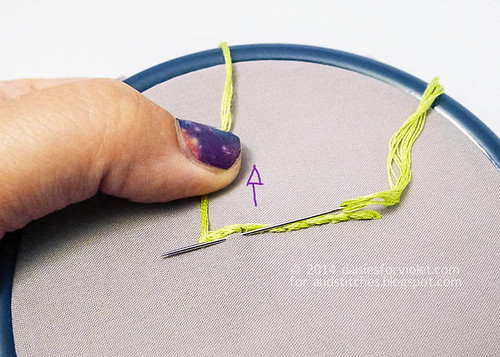
Next, begin your second row right up against your first. Use your thumb to hold the floss ON THE SAME SIDE of the hoop every time. This keeps it out of the way of stitching and creates the effect of the stitches leaning on each other. This is what you want and the only way the “fill” will effectively “fill”.
If the floss isn’t positioned the same for each row, it doesn’t matter how closely you stitch to the last row, there will be a slight space, just because of the nature of stem stitch.
I hold my floss over my existing stitches. Easy to remember to do every row and just becomes habit. Like this:
The next very important thing is where you insert your needle.
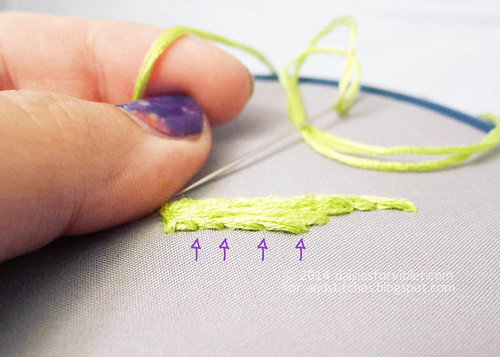
... at the little divot created by the last row. This will stagger the insertion points and create a braided or rope effect. Each row will snuggle right up to the last.
If all goes well, and I’m sure it will, your stitches will have this type of effect:
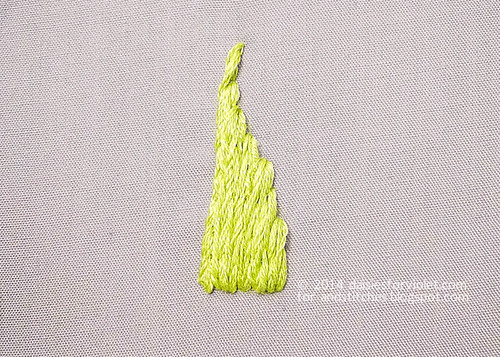
The area is smooth to the eye and silky to the touch.
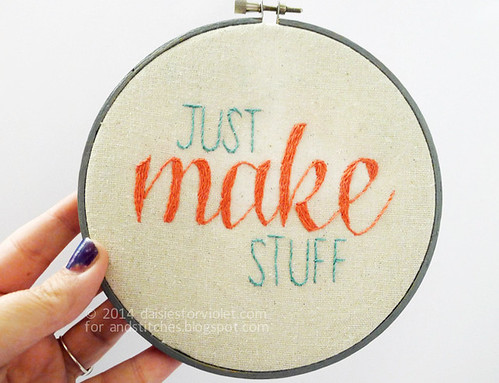
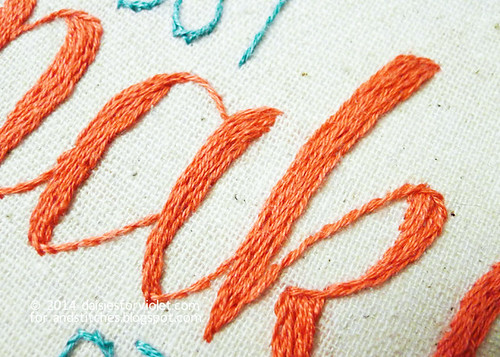
I created this next design to show the possibility of the stem as a fill. I created the word “make” using two strands of DMC. This type of embroidery feels like painting to me, the flow and the ease are relaxing. And c’mon, it’s really pretty.
I hope this information has been useful!
Happy stitching!
Teresa
What are you stitching? Please share in the &Stitches Flickr group. We'd love to see it!
This is beautiful work and a really useful tutorial! I'm about to stitch an initial on a quilt block this evening - I think I'll try out this for the fill stitch! Chrissie x
ReplyDeleteGorgeous work! :)
ReplyDeleteI can't see the images...flickr says they are unavailable
ReplyDeleteThank you for letting us know, we're looking into the missing photos! :-)
DeleteI can't see the images either. Would love to have a look at them.
ReplyDeleteNot sure where the photos have gone - we're looking into it! :-)
Delete