

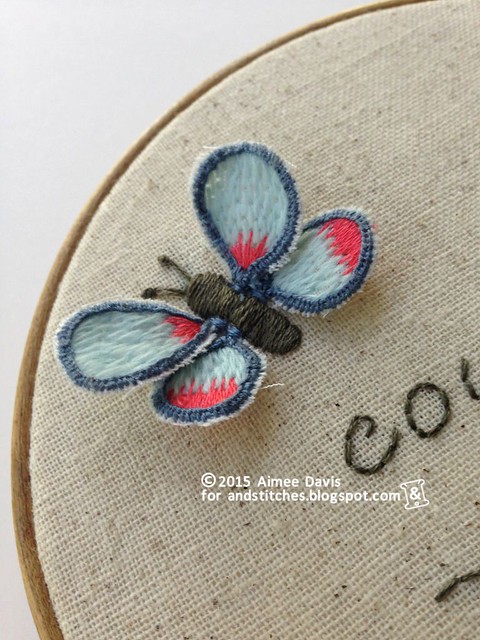
When I think of stumpwork I always seem to think of butterflies or other flying insects. Stitching a three dimensional butterfly is really not as hard as it looks - honestly it takes more time and patience than anything.
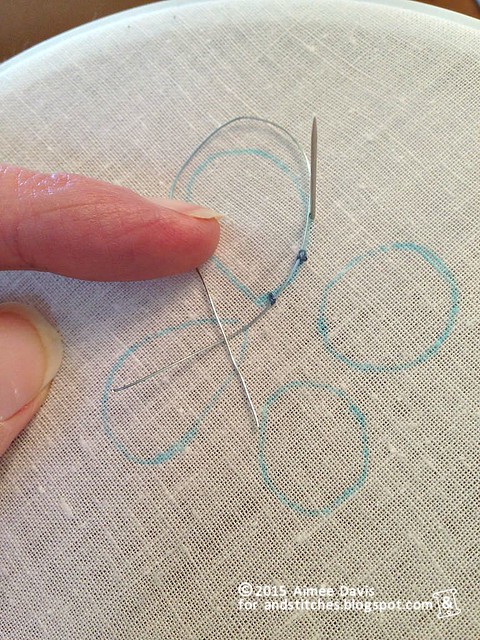
The first thing you need to do is find some thin fabric to work the wings on. I used some white muslin that I had in my scraps. Trace the outline of your wings, but give yourself some room to work around each one. In all honesty, I probably should have spaced my apart even more than this. After you trace your wings, you need some wire to give the wings some heft and shape. I used 30 gauge wire that I found in the floral department at my local craft store.
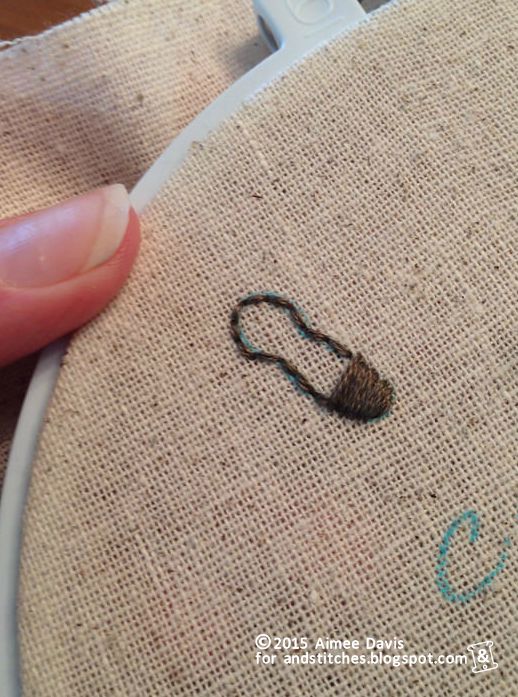
Next up, you are going to couch the wire down around the outline of the wings you made. Use 2 strands of floss and use the same color that you will use to eventually outline your wings with.
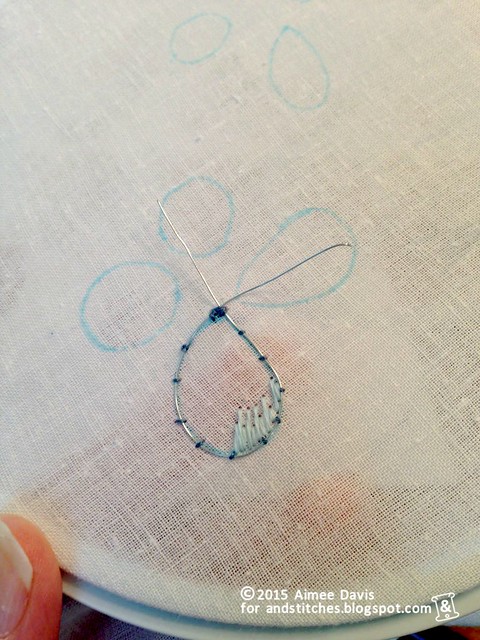
After the wire is couched all around, you use long/short stitches to fill in the wing. I am using single stranded wool floss here, but if you are using standard divisible floss - go with one strand.
Fill the wing all the way in and play around with colors and patterns.
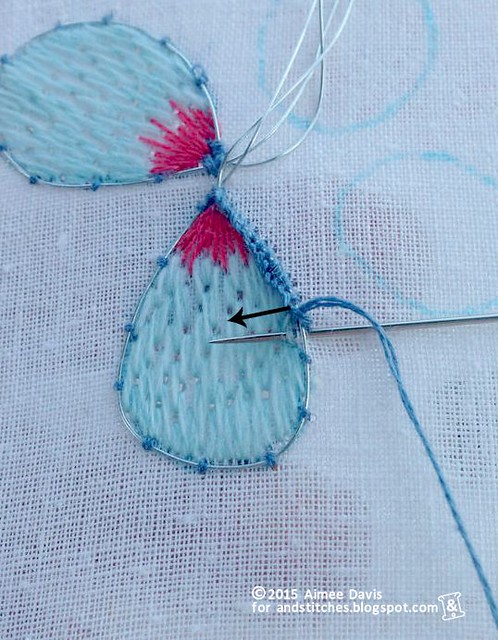
Once you have filled in the wing you are ready to cover up the wire. Using a buttonhole stitch, go under the wire with your needle, wrap your thread around the needle (in the direction of the arrow) and pull your needle through. Do this stitch all the way around the wing. When you get back to the beginning, do not cut your thread tail off! Leave it long for attaching the wings to the finished piece.
When you have all 4 wings finished, you are ready to cut your wings out. Cut just on the edge of the buttonhole stitching that you made and be careful not to cut your stitches.
Trace the outline of a butterfly body onto your finished fabric. Outline it with a backstitch and then fill in the body with a satin stitch.
Then, using a super large needle poke a hole next to the body where you want your first wing to go.
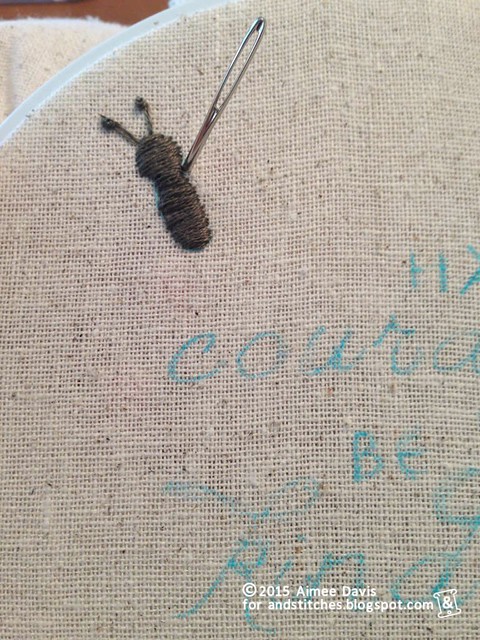
Poke the wires down through that hole to the back of the fabric and thread your needle with the long tail that you hopefully left on your wing from your buttonhole stitching. On the back of your piece, sew some small stitches over the wires to attach them. Make sure that you've pulled your wing as close to the butterfly body as you can.
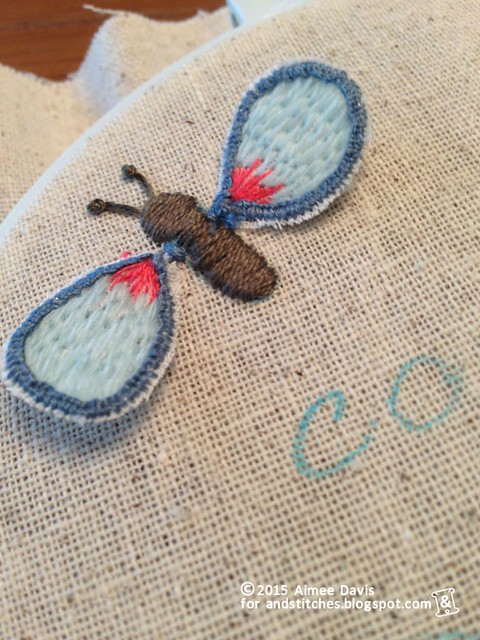
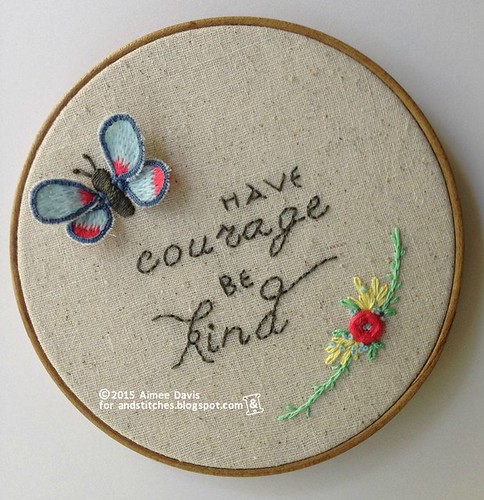
Repeat this process with all four wings. And voila! A stumpwork butterfly.
What are you stitching? Please share in the &Stitches Flickr group. We'd love to see it!
Nice. Thanks for that little tute on making your butterfly, very cute.
ReplyDeleteI really love this piece.. it looks so elegant ;)
ReplyDelete