
This week’s Summer Bloggin’ post comes from Carley Biblin. On her blog Making It Up as I Sew Along she blogs about all things stitching related. She shares tutorials, tips, reviews, and other fun stuff, so do pop over and check it out when you get a chance. Today Carley is sharing a bit about her favorite method of embroidery which we thought was really cool. We'll let Carley explain what it's all about.
Thank you, Carley!
I came up with this method of embroidery a couple years ago when I was desperately trying to figure out the perfect wedding gift for my younger sister. I discovered Osnaburg fabric in the utility section of the fabric store and used it to make yarn-embroidered starfish patches which I then appliqued onto pillow covers I made from cotton sateen.
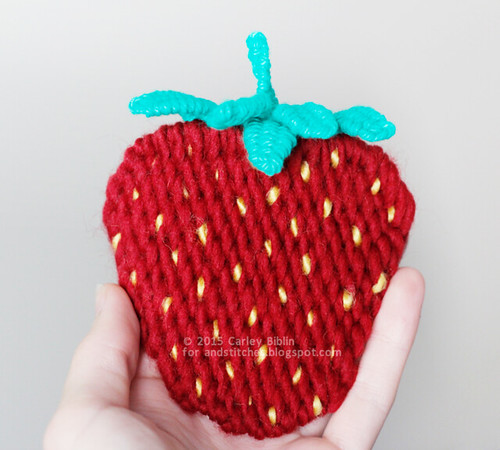
The dimension and softness of the bulky yarn creates such a textural effect. With the Osnaburg you can use yarn in much the same way as embroidery floss, though it may need a bit more special handling. In the tutorial below I show how to make a strawberry patch, but you can make many other shapes. So read on and let your creativity grow.
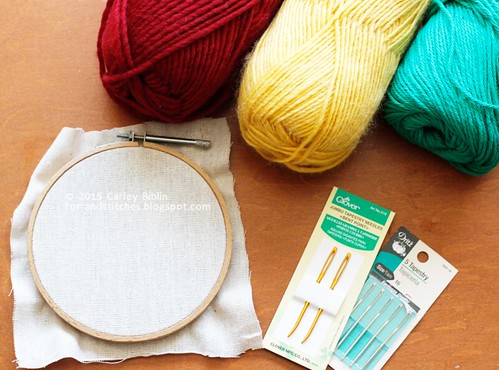
Materials:
- Osnaburg (utility fabric)
- Bulky weight yarn
- Large tapestry needle
- Embroidery hoop
- Image or embroidery design
- Pen/pencil/chalk
- Sewing needle and thread
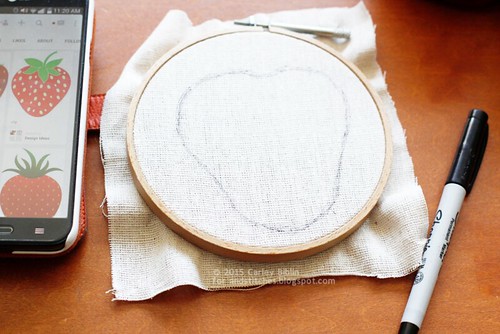
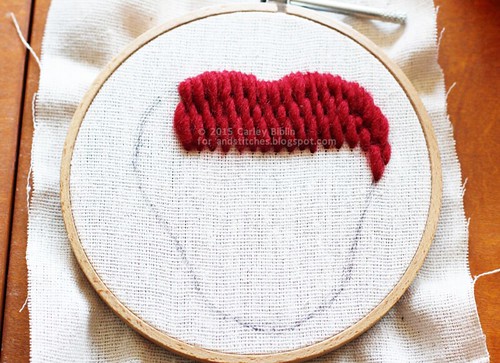
The goal is to cover the base material completely. Begin embroidering as you would a regular embroidery piece. Use the weave of the fabric as a guideline for stitch placement.
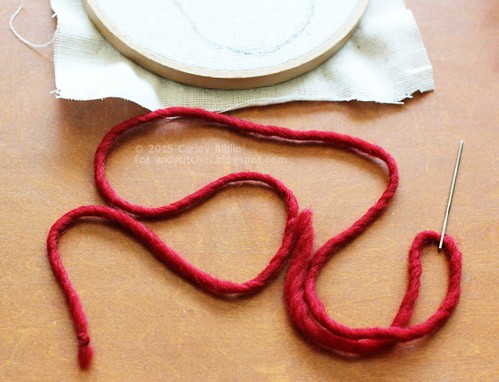
Although the Osnaburg appears to have very small spaces between the threads of the fabric, the threads move apart to let the yarn pass through easily.
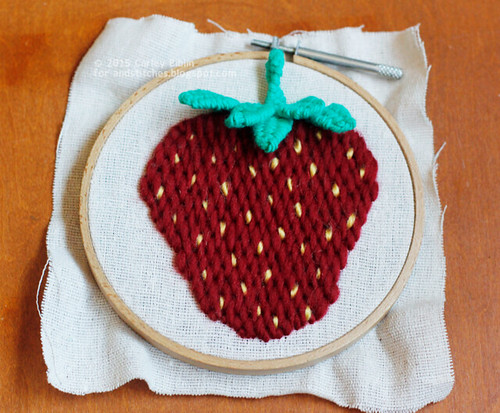
With fluffier yarn, you may need to put more space between each stitch, so experiment a bit to find what works for your particular yarn. When you finish a length of yarn, knot it at the back, cut, and start a new length as before.
I hope you've enjoyed learning this new technique. If you make something, I'd love it if you would tag me on Instagram (@carleybiblin) or send me an email (cbiblin@gmail.com). I look forward to seeing what you make.
Happy Stitching!
And we would of course love to see it too if you make something with Carley's tutorial. Please share in the &Stitches Flickr group.
Love this! It looks really cool :)
ReplyDelete