

We're happy to be joined this week by Cate Anevksi, stitcher and illustrator behind the whimsical and charming Bee's Knees Industries - be sure to check out her adorable embroidery patterns in her Etsy shop! Cate is here to talk about the various methods for transferring embroidery designs to fabric - take it away, Cate!
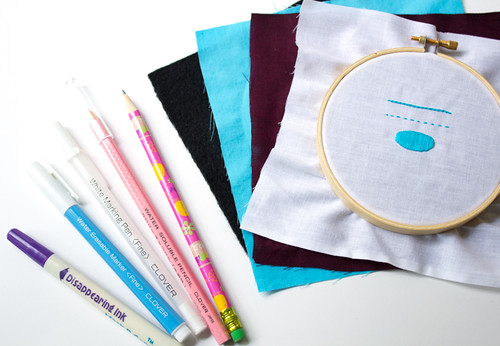
I have been trying to expand the types of base fabrics I use in my embroidery. However, my usual transfer method (blue water soluble pen) doesn’t work well with all fabrics, so I spent some time testing various transfer methods that work in different situations.
METHOD 1: Blue Water Soluble Pen
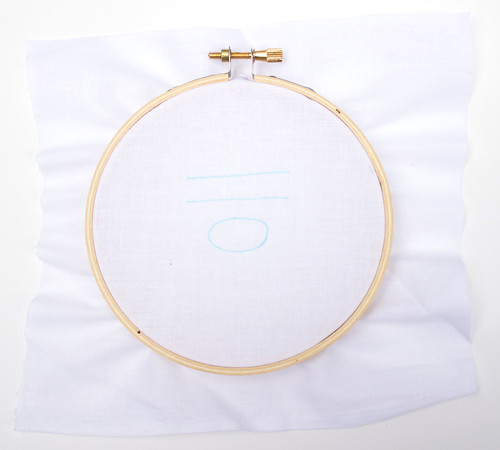
This type of pen is easy to find at most craft stores or online. It is a blue marker that you use just like a pen to trace over your designs.
Cleanup:
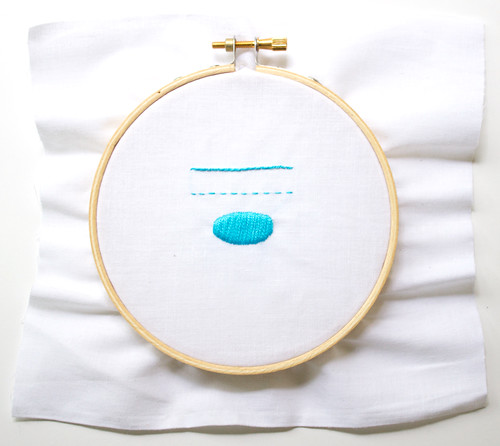
Simply spray the fabric with water to make the marker line disappear. I usually combine this step with blocking my embroidery.
Advantages:
The pens come in either thick or thin varieties, and the thin pens are very useful for fine details.
The marks don't rub off or disappear until you get the fabric wet.
You can easily erase a section either using a damp cloth or a specialty eraser pen, so you can rework a portion of your design if you want to make changes while you are working.
Disadvantage:
The pen only comes in one color and only works on light fabrics.
METHOD 2: Chalk Pencil
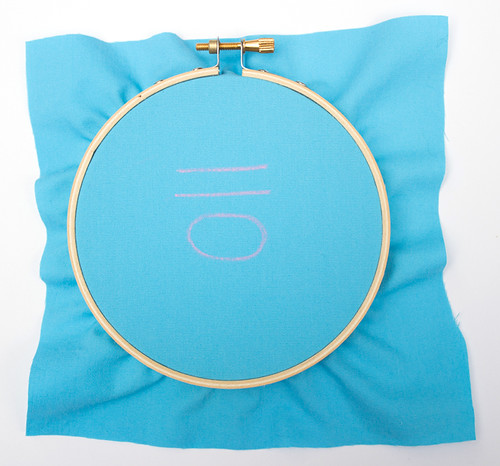

These pencils come in a variety of colors, the most typical being a combo pack of pink, white, and blue. This allows you to choose the best color to contrast with the color of your base fabric. Simply trace your design using the pencil of your choosing.
Cleanup:
Gently scrub the fabric with your fingers under running water. If you still see traces of your marks after the fabric is dry, repeat the process until the fabric comes clean.
Advantage:
Comes in a variety of colors so that you may use it on virtually any color of fabric.
Disadvantages:
The chalk can wear off of the fabric if it is rubbed. This means that you have to be a bit careful with your project when you store or transport it and while you are working on it.
The lines can be a bit thick, especially if the chalk has been blurred by rubbing, so it can be difficult to trace fine details.
METHOD 3: White Water Soluble Pen
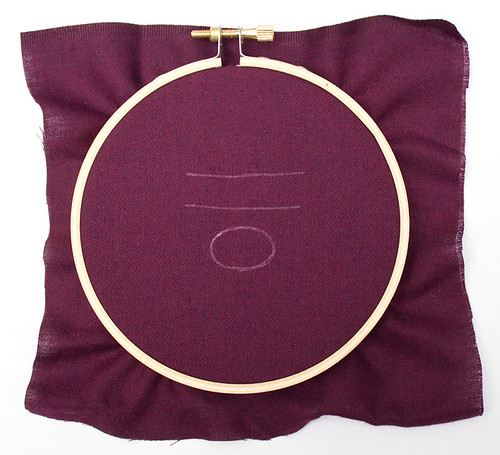
This is a pen with a very fine line that turns opaque white when it dries. You can use it to draw your designs onto dark fabrics. The ink is clear at first, but it will dry to a fine, easy to follow white line.
Cleanup:
Just like the chalk pencils, gently scrub the fabric with your fingers under running water.
Advantages:
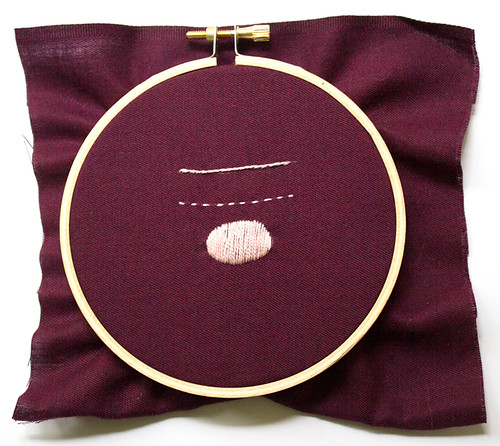
Works very well on dark fabrics.
The pen has a very tight, precise line that does not smear while you are working.
Disadvantages:
The ink doesn't show up as it is drawn. You must wait until the ink is dry to see your work, making it difficult to see what you are doing, particularly if you like to freehand designs.
The ink tends to be very light if you only trace your design once. You will need to go over the same area two or three times to get a white opaque enough to see easily.
METHOD 4: Purple Air Erasable Pen
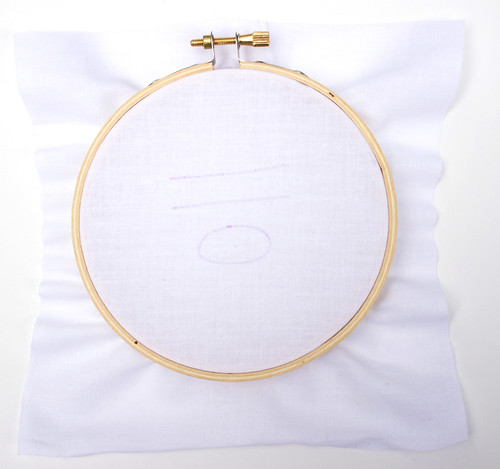
This pen is often found on the opposite side of the blue water soluble pen and works in much the same way. However, the ink is purple, not blue, and it disappears over time.
Cleanup:
Just wait long enough for the lines to disappear. This can happen within hours or days, depending on the weather, particularly temperature and humidity.
Advantages:
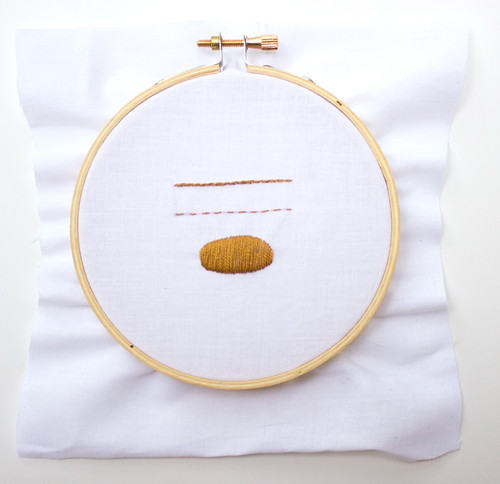
The pen will give you nice, tight lines that are easy to follow and do not smear.
The ink doesn't need to be washed out, making this a good choice for projects that cannot get wet.
Disadvantages:
Since the ink sometimes disappears very quickly, you must work quickly before your design disappears. I usually only trace small portions of complex designs so the ink doesn't disappear before I'm able to finish that section. Also, the ink tends to stay the longest in cool, dry weather. It can sometimes disappear in less than an hour in hot, humid weather.
The ink also cannot be washed out on your schedule; you must simply wait for it to disappear. I had this problem once on a project that I did for a gallery show. I finished the project the night before I had to drop if off at the gallery, and some of the purple lines were still visible when I dropped off the project. Luckily, by opening night of the show, all the purple lines were gone.
Join Cate again next week when she'll continue her exploration of transfer methods and look at transferring patterns with household materials!
What about the Frixxon pen? I abandoned all other methods when I discovered it
ReplyDelete